
Decoding some Hidden Magic of MakerApple Metadata

Inspecting the EXIF metadata always surprises me, as so much hidden information can be found inside that dictionary. From the photo orientation to the Color Profile name, it contains copious details for developers to use when displaying or editing an image.
If you have ever inspect the photo captured by your iPhone, you may have noticed a special key in the root metadata dictionary named {MakerApple}. There’s no detailed documentation from Apple explaining this metadata, yet certain behaviors in the iOS system rely on values in that metadata. Currently, some third-party websites provide partial information about the structure and meaning of this metadata.
The following content introduces a few scenarios where you might want to inspect or modify the values in the {MakerApple} metadata:
Various ways to get the metadata
Calculate the Apple HDR headroom
Remove Burst Identifier
Remove Portrait Identifier
Live Photo related
Various ways to get the metadata
First, how to get the {MakerApple} metadata? There are various ways to get that.
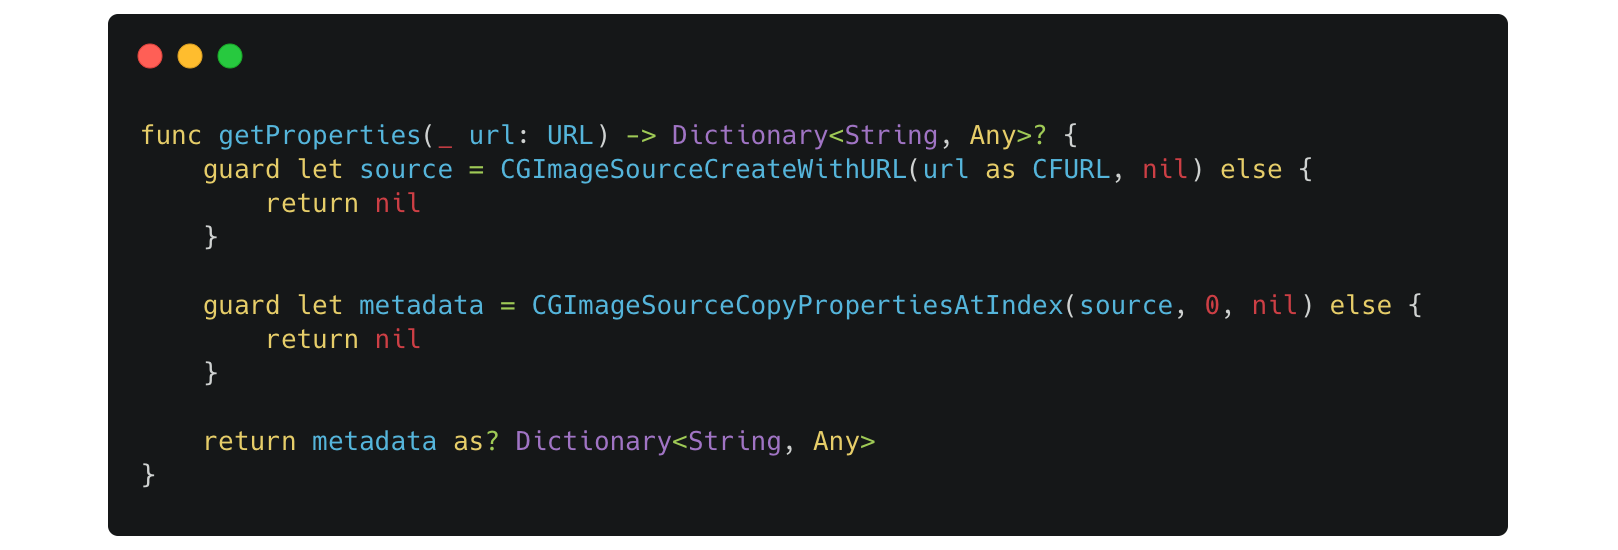
For Core Graphics method, you first construct a CGImageSource with your preferred inputs like URL or Data, then CGImageSourceCopyPropertiesAtIndex(_:_:_:) method is what you need. This method returns a CFDictionary, which you can safely cast to the Swift type of Dictionary<String, Any>.
For Core Image, there is an instance property in CIImage named properties:
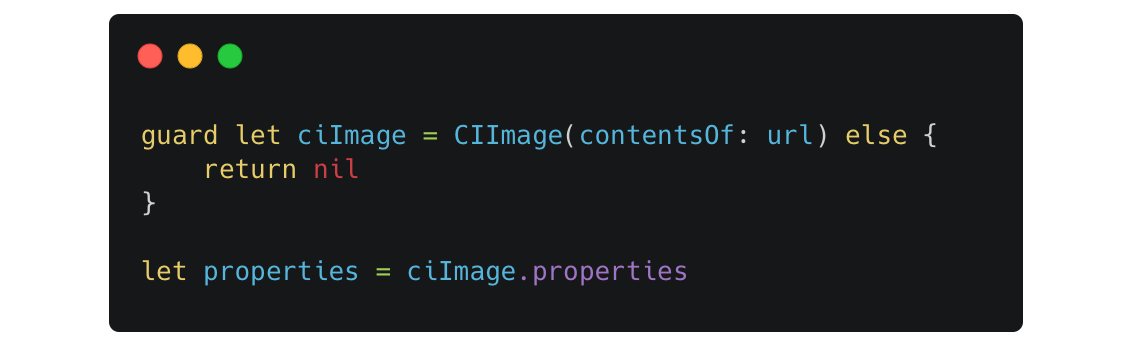
Note that the properties of a
CIImagemay be discarded after certainCIFilteroperations. You may want to cache the properties of the initialCIImagethat is created from the original source. In your kernel, consider using thesettingProperties(_:)method to set the properties to the newCIImage.
After getting the root metadata, now you can easily inspect the {MakerApple} metadata using the built-in kCGImagePropertyMakerAppleDictionary key.

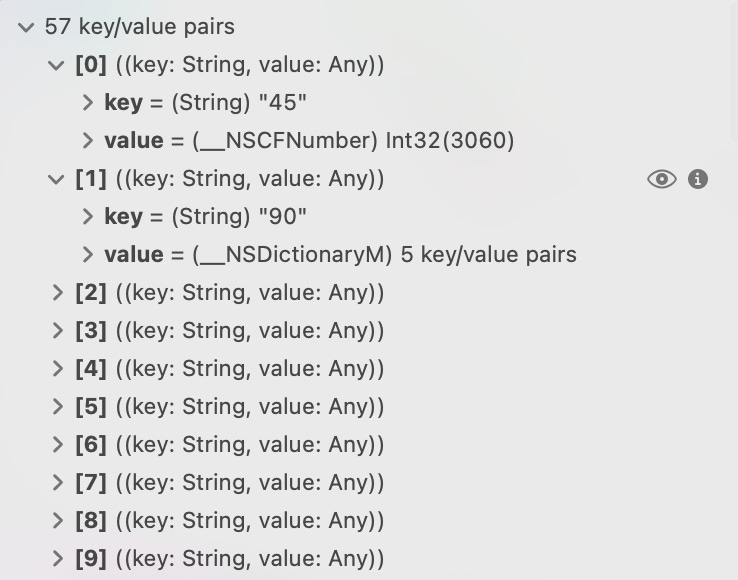
The {MakerApple} metadata is still a Dictionary<String, Any> , which may looks like below. The keys of the dictionary are basically numbers, which are meaningless and are hard to understand.
For a brief preview of the {MakerApple} metadata, you can visit the following website. However, please note that this is not the official Apple documentation, and there may be errors, such as the incorrect note for LivePhotoVideoIndex.
https://exiftool.org/TagNames/Apple.html
Calculate the Apple HDR headroom
I have written a blog detailing the information to process HDR Gain Map, including the Apple standard HDR Gain Map and the new ISO standard HDR Gain Map. But it didn’t cover the details on how to calculate the headroom of the HDR image.

There is an official Apple documentation that covers details on how to calculate the HDR headroom:
Applying Apple HDR effect to your photos
Specifically, in the Calculate the headroom from the image metadata section, it introduces the algorithm of headroom calculation, as shown below.
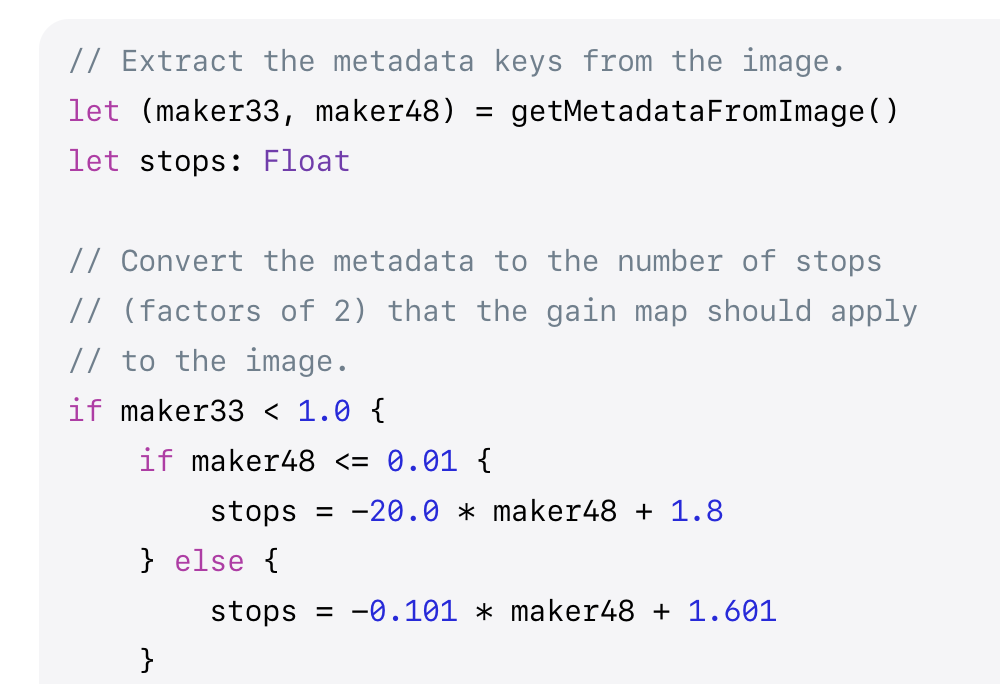
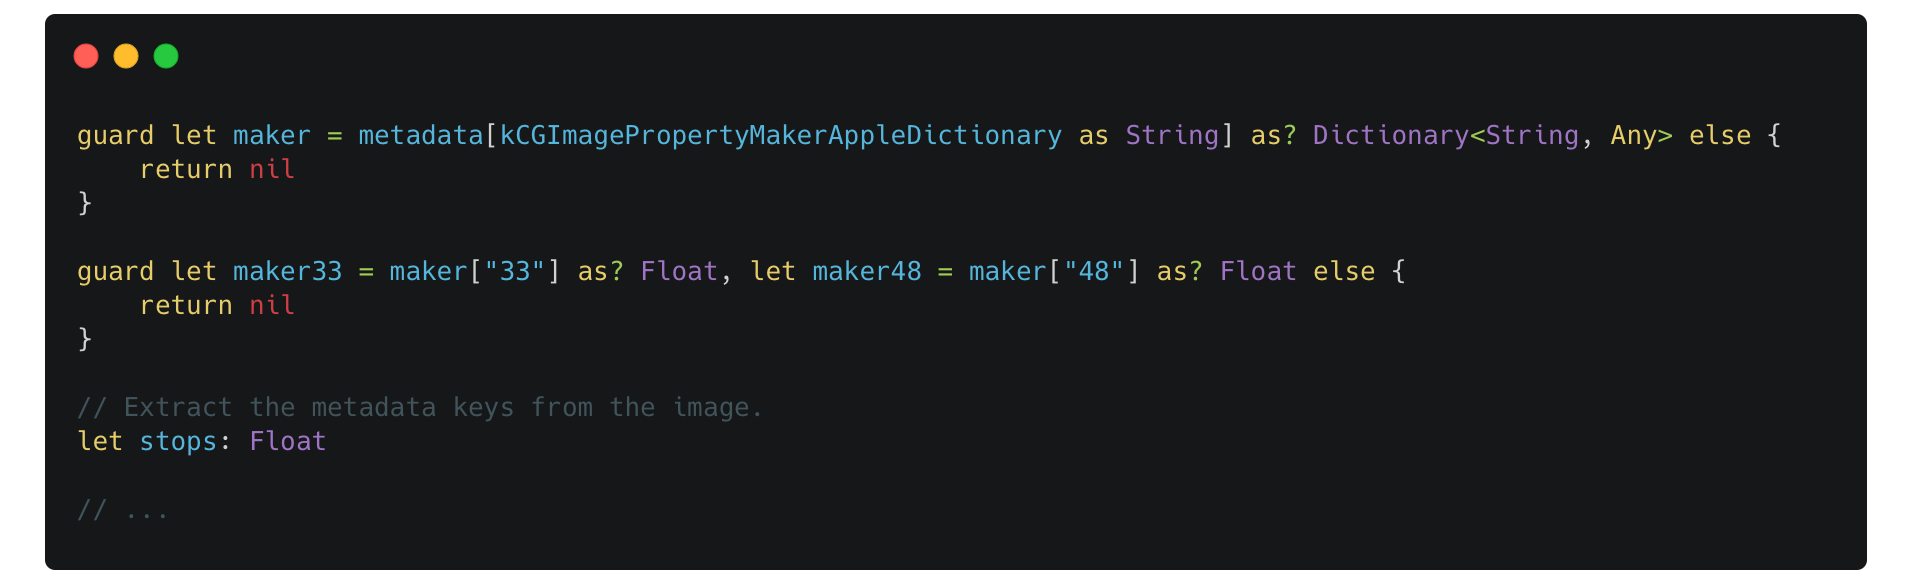
But it doesn’t mention what maker33 and maker48 mean, nor does it include the implementation of the getMetadataFromImage method. In fact, maker33 refers to the value associated with the key 33 and maker 48 means the value associated with the key 48.
For some reasons, the iOS’s Photos apps can still render HDR effects even the Gain Map is missing in some specific iOS versions, and it’s rendered in a weird way. To utterly remove the HDR effects from a photo, you must also remove the metadata (specifically, the headroom metadata) in the properties of the image.
I have covered this in the previous blog:
Note: the method mentioned above is applied to the Apple standard HDR Gain Map, which is used since iPhone 12. But starting with iOS 18, it introduces a new ISO standard. With that standard, the method to calculate the headroom is not applicable, and you should inspect the
kCGImageAuxiliaryDataTypeISOGainMapauxiliary type from the source.
Remove Burst Identifier
iOS Camera app allows user to capture and store Burst photos in one Burst collection.

All photos in a Burst collection share the same Burst Identifier, which is stored in the {MakerApple} metadata under key 11.
Adding a file URL as a resource to a brand-new PHAssetCreationRequest where the URL contains the original metadata will result in the newly created PHAsset being added to the original Burst collection—even if there is no explicit API to set this behavior.
To avoid that issue and make sure the newly saved PHAsset is always served as a new photo item in the Photos app, we should remove the key 11 of the {MakerApple} metadata.

Remove Portrait Identifier
After you capture a Portrait photo, it will appear with a special Portrait tag on the top left corner. Similarly, key 25 is bound to this tag, even though the image file itself doesn’t necessarily have the depth map auxiliary data.

Therefore, to remove the Portrait Identifier, we just need to remove the key 25 in the {MakerApple} metadata:

Note: according to this website mentioned above, the key 25 actually refers to the
SceneFlags. But its possible values remain unknown. Upon testing, there’s no noticeable impact other than removing the Portrait tag and Portrait editing feature to the photo.
Live Photo related
Regarding the Live Photo, there is also keys bound to the Live Photo metadata: key 17.
According to this website: The key 17 is used for live photos to link the photo to the video file that constitutes the “live” portion. The value for key 17 is also included in the video’s metadata as
"com.apple.quicktime.content.identifier".
If we inspect the value of key 17, it’s a string that looks like an UUID:

Removing this key will fail to save the live photo using the PHAssetCreationRequest.addResource(with:fileURL:options:) method with PHAssetResourceType.pairedVideo type.
In other words, when saving live photos using PhotosKit, you are supposed to preserve the metadata as much as possible to prevent further issues.
Afterwords
Altering the {MakerApple} metadata should be done with utmost caution, as it may contain substantial information about the photo you’re working with. The content I provided above is based on my personal development experience. If Apple has released official documentation on this topic, please refer to the latest documentation.