When building apps with SwiftUI, you begin by creating your content view, which represents the actual content of your app after it launches, such as the main list in a To-Do app or the viewfinder in a Camera app. If you are familiar with iOS development, you may know that when you create a project using Storyboard, there is a dedicated LaunchScreen.storyboard for customizing the launch screen experience. However, this launch screen customization option seems to be missing when you choose SwiftUI to build your UI.
By default, the launch screen uses the SystemBackgroundColor as the background color, which appears white in a light color scheme and black in a dark color scheme. For most apps, this behavior is sufficient, and you shouldn't need to worry about the launch experience. However, for certain applications, such as camera apps that consistently use a dark interface regardless of the user's chosen color scheme, additional adjustments may be necessary.
In your SwiftUI app, the starting point is straightforward. You conform to the App protocol, describe the scenes your app supports, and provide the ContentView. If you want the app to use a dark color scheme all the time, simply add the preferredColorScheme modifier to the content view.
@main
struct DarkLaunchScreenApp: App {
    var body: some Scene {
        WindowGroup {
            ContentView().preferredColorScheme(.dark)
        }
    }
}
However, doing so will not change the background color of the launch screen. In an iOS app, the ContentView you provide may correspond to the UIView of the first UIViewController. The launch screen is displayed while your app is launching and appears instantly when your app starts up, quickly being replaced by the app’s first screen. Simply put, the preferredColorScheme you specify will not affect the launch screen.
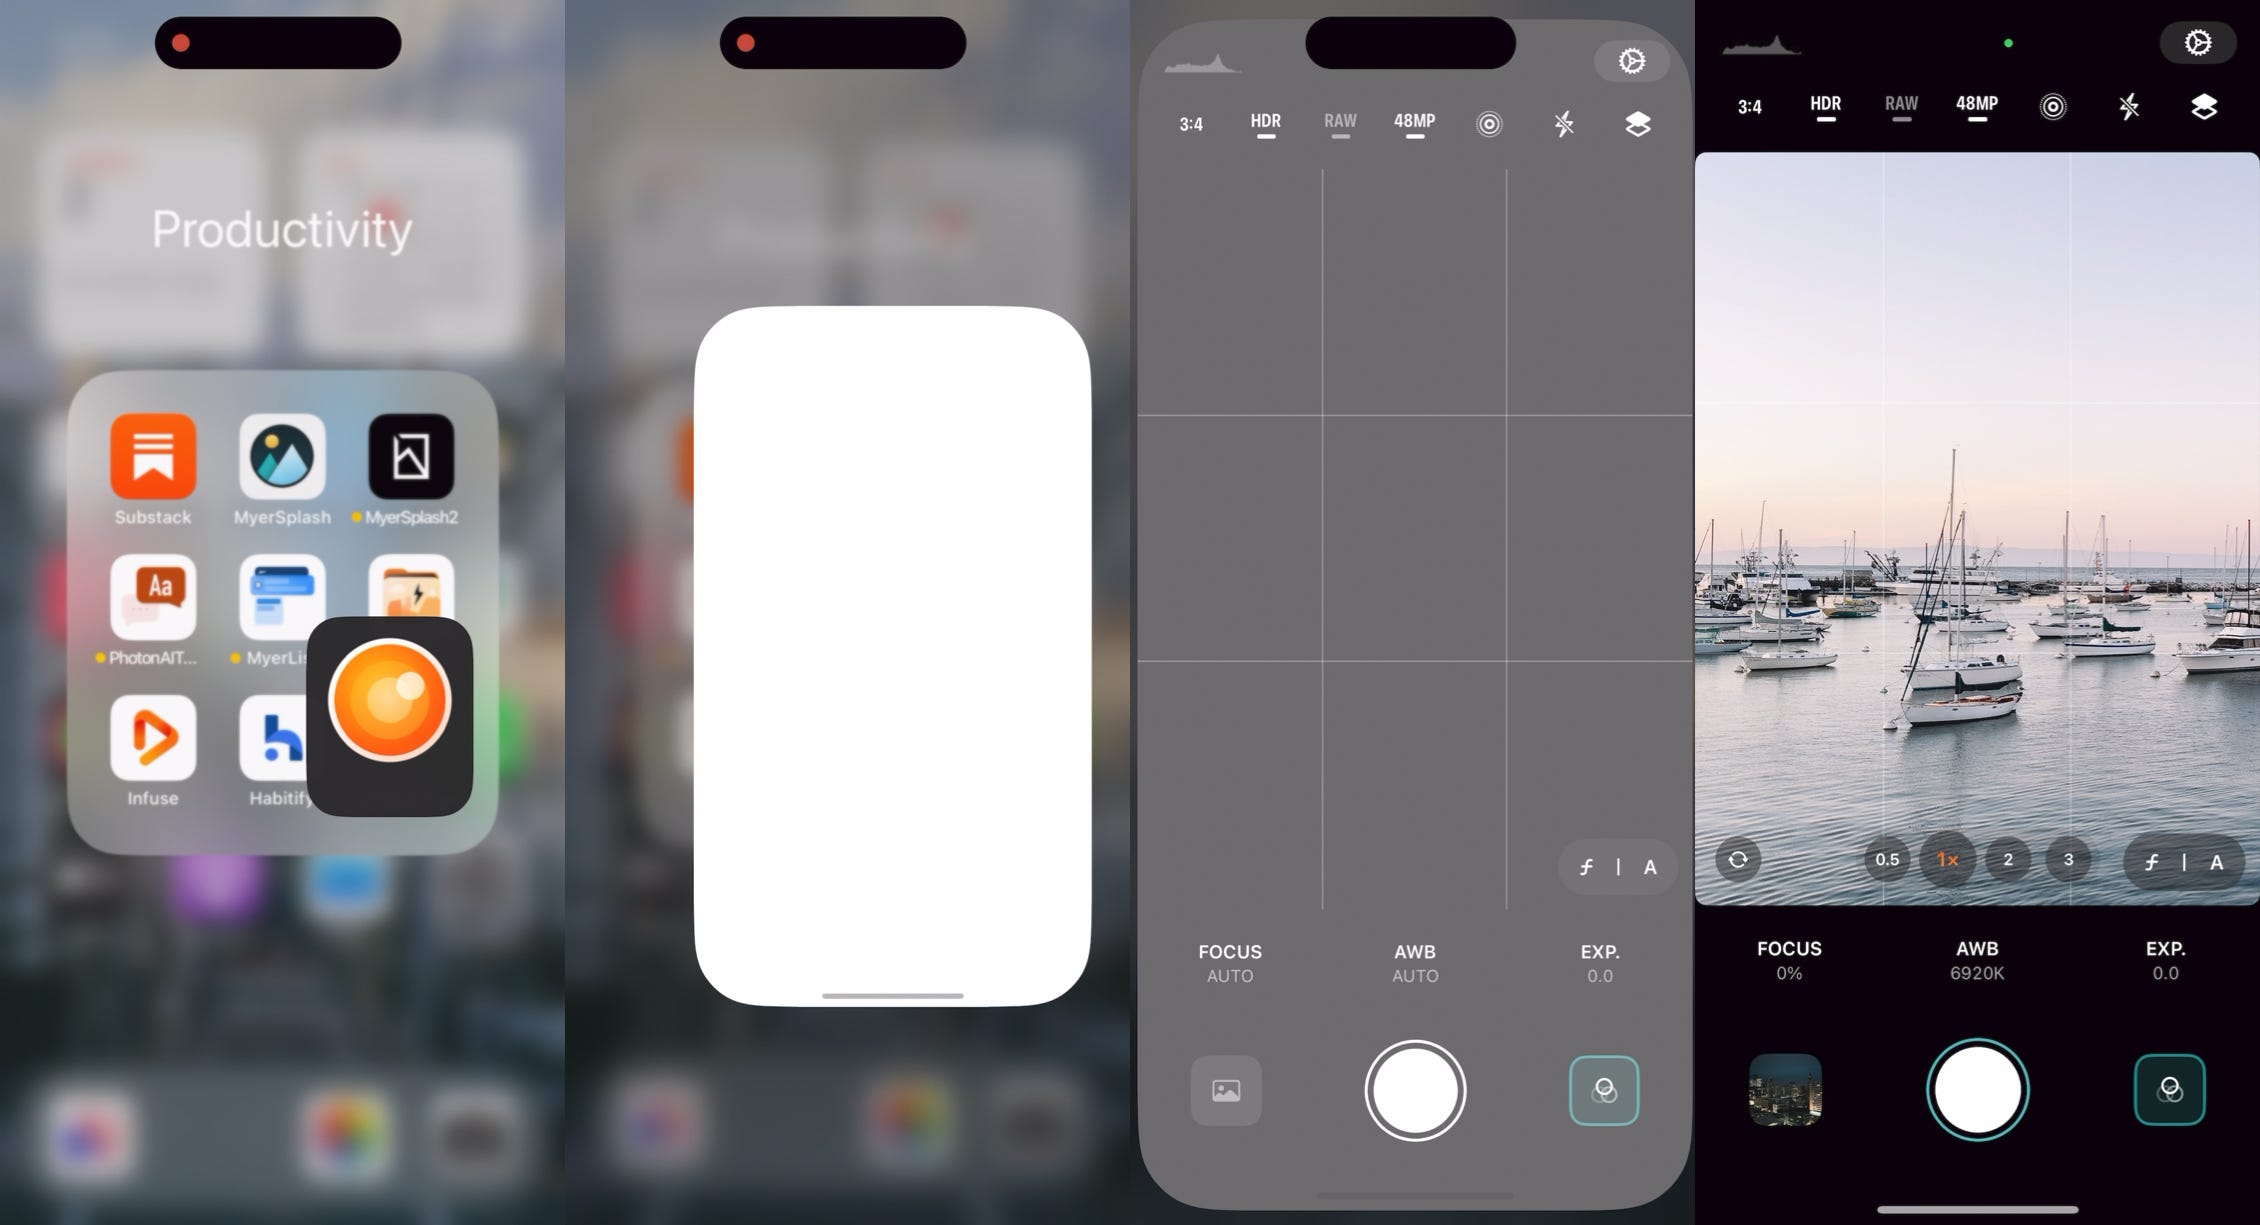
To demonstrate what will happen in this situation, you can see the image below.
The bad launch experience for a camera app with consistent dark color scheme
As you can see, the app initially displays a white launch screen, which is quickly replaced by the content view with the dark color scheme you provided. Although this transition is very fast, users may still perceive a brief flash during the app launch, which can detract from the overall user experience.
Tailoring the launch screen for your SwiftUI app
There are two ways to create a launch screen in Xcode, according to the document:
Information property list
User interface file
Since we just want to tailor the background color of the launch screen, creating the launch screen with Info.plist is a preferred way.
You can do this in the following steps:
Navigate to the Info tab of your iOS app target
Add a new key named UILaunchScreen. By default it will add the UIImageName key for you the specify the image on top of the launch screen. If you want to display your app’s icon on the launch screen, you can set it to the name of your image asset. Otherwise, you can simply delete it.
Add a new key named UIColorName inside the UILaunchScreen dictionary. The value should be the name of your color in your asset catalog. You use the same string for the value that you might use when calling the init(named:) initializer of UIColor.
It’s worth noting that by default Xcode shows the localized names in the Info.plist, to show the raw names that match the documentation, you can right click and select Raw Keys and Values.
Add UILaunchScreen dictionary in the Info.plist
Add a dedicated color for launch screen background
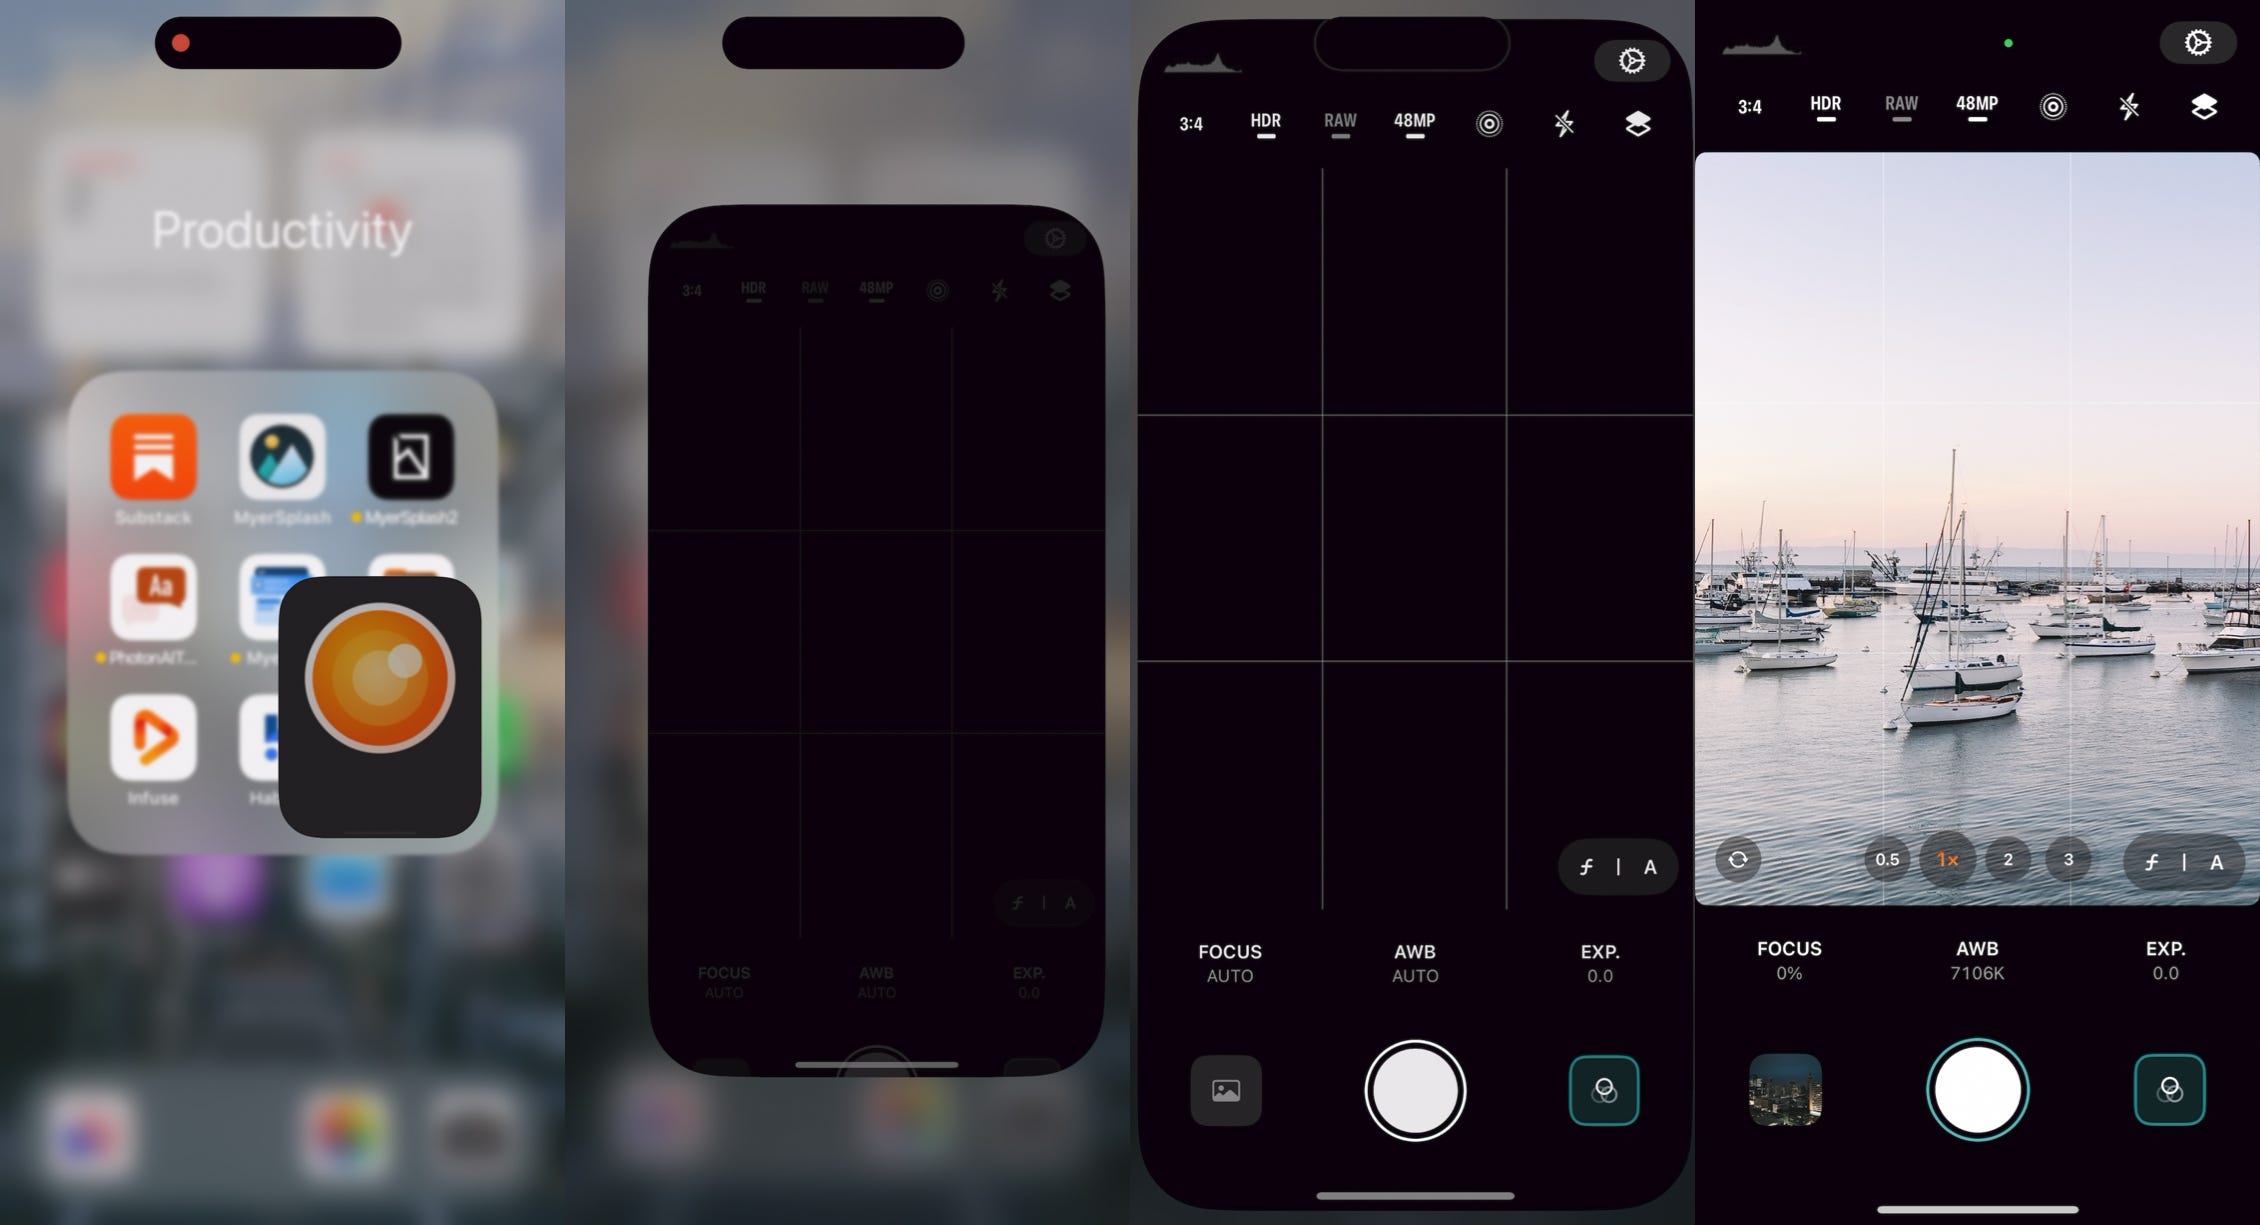
After setting the background of the launch screen, the app will now initially display a black screen upon launch, with your content view gradually fading in, as shown in the image below.
The good launch experience when setting background color to the launch screen.
Final thought
This is a simple yet efficient way to enhance the launch experience of your apps, especially for a camera app, as you don't want to startle users by flashing the screen when they open your app in a dark environment.
I hope this article will help you create a better experience for your app. Thanks for reading :)
Thanks for reading JuniperPhoton’s Substack! Subscribe for free to receive new posts and support my work.